
Starting a new craft project can be exciting, but beginners often face avoidable pitfalls that slow progress and cause frustration. Knowing what mistakes to watch out for saves time, materials, and effort.
Common errors include rushing through instructions, using the wrong tools, and neglecting proper preparation. These issues can lead to poor results and discourage continued crafting.
Being aware of these typical mistakes helps maintain motivation and produce better outcomes. Avoiding them sets the foundation for a more enjoyable and successful crafting experience.
Understanding Common Craft Mistakes
Many craft errors come from misreading steps, choosing incorrect materials, or neglecting safety rules. Focusing on these areas helps improve precision, project quality, and personal safety.
Misinterpreting Instructions
Craft instructions often include specific measurements and sequences that require careful attention. Misreading a step can lead to misaligned pieces or project failure. Beginners should slow down to fully understand each instruction before starting.
Visual guides and diagrams must be studied alongside the text for better clarity. Skipping steps or guessing missing details often causes mistakes that are costly to fix.
Taking notes or highlighting key points in instructions can improve focus. Asking questions in crafting communities or forums when unsure can prevent errors early on.
Using the Wrong Materials
Using materials that don’t fit the project specifications often results in poor finishes or weak structures. For example, substituting a recommended type of glue or fabric can change the outcome drastically.
Always check the compatibility of materials with the intended technique—using gloss paint on surfaces meant for matte, for instance, can cause peeling.
Material quality matters: cheap substitutes might save money, but lead to frustration and wasted effort. Keeping a checklist of correct materials before starting avoids this common pitfall.
Ignoring Safety Precautions
Crafting tools like hot glue guns, knives, and saws pose risks if safety measures are overlooked. Simple actions such as wearing gloves and working in well-lit areas protect against injury.
Failing to ventilate when using paints or adhesives risks inhaling harmful fumes. Always read product warnings and follow recommended usage instructions.
Establishing a safe workspace, free of clutter and equipped with necessary safety gear, prevents accidents. Taking safety seriously ensures crafting remains both enjoyable and hazard-free.
Preparation Pitfalls
Proper preparation improves efficiency and reduces frustration in crafting. Key factors include careful planning, confirming materials, and organizing your workspace for easy access.
Inadequate Planning
Failing to plan your project steps can lead to wasted materials and time. For example, skipping the creation of a step-by-step outline often results in missed details or forgotten steps.
A detailed plan should include measurements, color choices, and estimated time for each stage. This minimizes errors and helps track progress.
Documenting the project scope beforehand also prevents mid-project changes that can cause confusion or extra expense. Without clear planning, beginners may find themselves restarting or abandoning projects.
Skipping Supply Checks
Using incomplete or low-quality materials undermines the final result and causes avoidable delays. Always verify that you have all the required supplies before starting.
Check quantities, sizes, and compatibility of tools and materials. For instance, sewing projects often fail because the thread type or needle size doesn’t match the fabric.
Create a checklist and mark off each item systematically. Also, inspect supplies for defects or damage. This reduces interruptions caused by needing to buy missing items mid-project.
Improper Workspace Setup
A cluttered or poorly organized workspace reduces focus and increases accidents. Craft spaces should be well-lit, ventilated, and arranged to keep frequently used items within reach.
Ensure there is enough surface area to lay out materials and tools comfortably. Store sharp or hazardous items safely.
Ergonomic seating and adequate storage solutions promote efficiency and reduce physical strain. Without a proper setup, workflow suffers, and error rates rise.
Execution Errors
Mistakes in how a project is carried out can undermine the final result even if the design is solid. Attention to timing, measurement, and material use plays a critical role in achieving clean and lasting craftwork.
Rushing the Process
Speed often leads to errors that are difficult to fix later. Skipping steps to finish quickly can cause misaligned cuts, weak joints, or messy finishes.
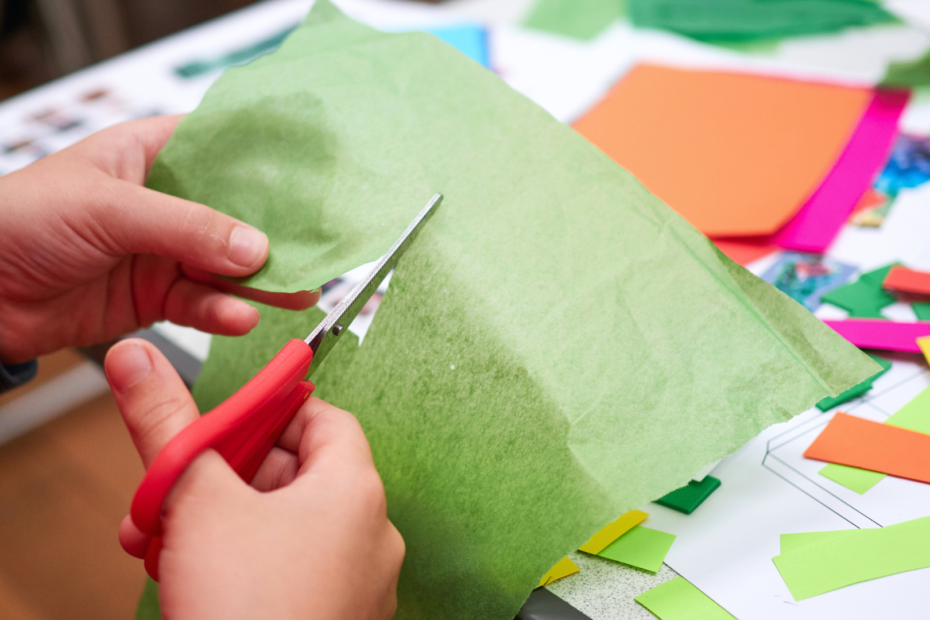
Taking time to follow each step thoroughly improves accuracy and quality. For example, carefully cutting along marked lines reduces the need for rework. Allowing yourself sufficient time also helps avoid frustration and fatigue, which increases the likelihood of mistakes.
A slower pace that focuses on precision rather than speed results in cleaner, more professional-looking work.
Insufficient Measurement and Marking
Accurate measurement and marking are fundamental to a successful craft project. Failing to measure twice or use clear marks can cause parts to not fit properly.
Use reliable tools like metal rulers, squares, and sharp pencils. Mark lightly but visibly, ensuring marks are easy to follow and won’t transfer to the finished pieces. Double-checking measurements before cutting or assembling prevents wasted materials and time.
Visualize and measure out all dimensions carefully before moving forward to maintain consistency and precision.
Overusing or Underusing Adhesives
Applying too much adhesive can cause overflow that damages the project’s appearance. Too little can create weak joins prone to separation.
Use the recommended amount specified for your adhesive type. For glue, apply a thin, even layer to bonded surfaces. When using hot glue, moderate the flow to avoid excess blobs.
Clean any stray glue immediately with a damp cloth or appropriate solvent to keep edges neat. Correct adhesive use strengthens joints and supports durability.
Neglecting Drying or Setting Times
Ignoring drying or setting times risks parts shifting or adhesives failing. Handling components too soon may compromise structural integrity.
Follow the manufacturer’s instructions for drying times diligently. Allow glue or paint to dry fully before moving or assembling pieces.
Use timers or reminders to give yourself enough pause. Patience during curing phases ensures bonds or finishes hold properly and look finished.
Finishing and Detailing Flaws
Small errors in finishing and detailing can undermine the quality and appearance of a craft project. Attention to detail in these areas ensures a polished, professional look and increases the durability of the finished piece.
Overlooking Finishing Touches
Skipping final steps such as sanding, sealing, or adding protective layers can leave a project vulnerable to damage and reduce its lifespan. Even minor rough spots or missed areas can degrade the overall appearance.
Finishing touches often include applying varnish, paint, or clear coats evenly. Beginners might rush this stage, resulting in streaks, bubbles, or uneven coverage. Proper drying time and multiple thin layers yield the best results.
Paying attention to instructions for each material and finish type is essential. A smooth, thoughtfully completed finish improves both aesthetics and function.
Not Cleaning Up Edges and Surfaces
Rough or untrimmed edges create an unfinished look and can cause discomfort or injury, especially in wearable or handheld crafts. Edges should be sanded or trimmed cleanly to match the rest of the project.
Surface debris like glue residue, paint spots, or dust can also damage the final finish. Tools such as fine-grit sandpaper, soft cloths, and specialized cleaners help maintain clean surfaces before sealing.
Consistent cleaning during each stage prevents buildup that becomes harder to remove later. A clean workspace supports precise and neat detailing.
Applying Inconsistent Finishes
Uneven paint, stain, or varnish applications commonly result from improper technique or tools. This can include brush marks, blotchy staining, or missed patches.
To avoid this, use appropriate brushes or applicators for the surface and material. For example, foam brushes work well for smooth finishes, while stiff bristles are better for textured surfaces.
Work with consistent pressure and maintain a wet edge to prevent lap marks. Testing finishes on scrap material also helps calibrate the right amount of product and drying time.
Presentation and Display Mistakes
Effective presentation requires attention to how your crafts are mounted and stored. Incorrect choices can damage your work or reduce its aesthetic value.
Poor Mounting or Framing Choices
Choosing the wrong frame or mounting materials can cause physical damage or degrade the appearance of your craft. Avoid using acidic backing or non-archival tape, which can lead to discoloration over time.
Size matters. Frames that are too large or too small distract from the craft. Always measure the piece carefully and select a frame that complements its dimensions and style.
Consider the environment. Use UV-protective glass for items exposed to sunlight. This prevents fading and material breakdown. Additionally, ensure the mount or frame allows airflow to avoid moisture buildup.
Improper Storage Techniques
Storing crafts improperly risks warping, mold growth, or physical damage. Never stack delicate items directly on top of each other without protective layers like acid-free tissue paper.
Temperature and humidity control are crucial. Keep storage areas cool and dry. Avoid basements or attics where conditions fluctuate drastically.
Label and organize storage containers clearly. This prevents unnecessary handling that might damage your crafts. Use containers made from archival-safe materials to preserve integrity over time.
Growth and Improvement Oversights
Effective progress in crafting depends on openness to critique and a willingness to expand skills. Ignoring essential growth opportunities can stall development and limit the quality of finished work.
Not Seeking Feedback
Beginners often avoid asking for feedback due to fear of criticism or feeling unsure about their work. This hesitation delays identifying specific areas that need improvement. Feedback from experienced crafters, teachers, or peers provides targeted advice that beginners cannot see on their own.
Without external input, it’s easy to repeat the same mistakes or miss technical errors. Feedback offers perspective and benchmarks growth objectively. Constructive criticism helps refine technique, avoid common pitfalls, and improve overall craftsmanship.
Actively requesting and reviewing feedback should be part of the crafting process. Document comments, compare multiple opinions, and use them to adjust methods and improve outcomes.
Resisting Learning New Skills
Crafting techniques evolve, and new materials or tools emerge regularly. Beginners who cling only to familiar methods limit their creative possibilities and efficiency. Resistance to learning can stem from comfort in routine or fear of failure.
Mastering new skills, like advanced stitching, material manipulation, or digital design tools, expands versatility. It also prepares crafters for more complex and rewarding projects. Learning requires patience and practice, but accelerates growth.
Set small, achievable goals to integrate new skills gradually. Use tutorials, workshops, and online resources to stay current. Embracing continual education separates consistent improvers from stagnant hobbyists.